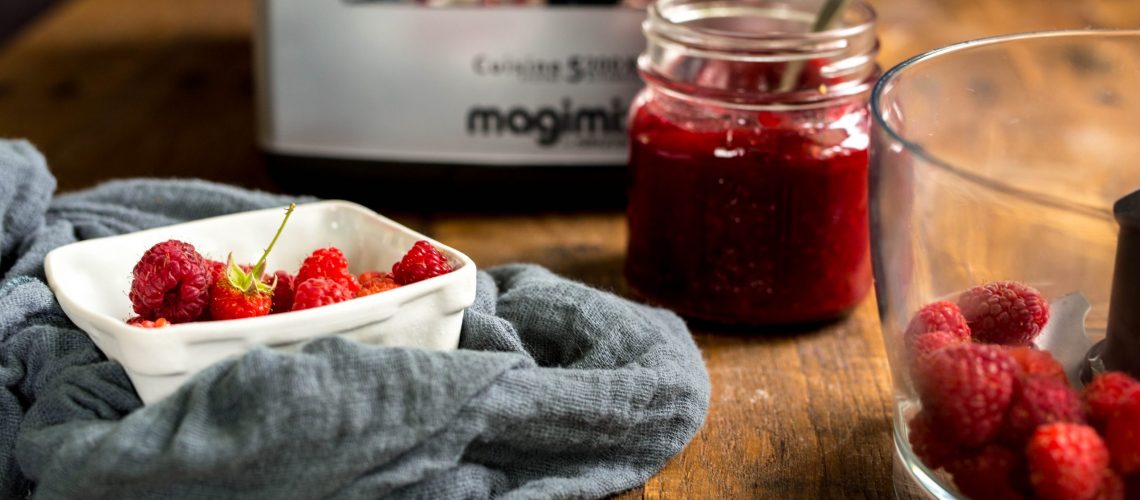
A classic food preservation method, canning has been around for quite some time – and for good reason! Canning is a great way to save fresh seasonal foods, stored at room temperature, so you can enjoy them year round. Home-canned jams, jellies chutneys also make great gifts that you can keep on hand for any last minute present.
If you’ve never canned at home before, Ball is a great expert source for all things canning. You can learn the basics of how to get started, along with helpful resources, research, recipes and more at www.freshpreserving.com. We’ve also prepared a list of ten tips to help any home-canner, beginner or seasoned expert. Plus, these recipes are all made even easier by using your Magimix Food Processor! The Creative Kit Food Processor Attachment is especially handy for canning. With all this helpful advice, you’ll be jamming in no time (pun intended)!
1. Know the right canning method for you. There are two home canning methods: water bath canning and pressure canning. Understanding the difference between the two processes will help you choose the method best for the foods you want to preserve. For more information, watch this video explaining the two methods.
- Water bath canning is a lower temperature canning method best for foods high in acidity. According to Ball, “water bath canning is ideal for high acid foods and recipes that incorporate the correct measure of acid. The combination of time and temperature destroys mold, yeast and enzymes that cause spoilage while creating a vacuum seal.”
- Pressure canning involves a combination of time and the high temperature of 240°F to safely preserve foods that are low in acidity, like meats, vegetables and seafood. This method requires a pressure canner, which is key to keeping the correct temperature to destroy food borne bacteria and create a perfect vacuum seal.
2. Only use tried and tested canning recipes. Water bath canning especially, is a delicate process, and altering or making up a recipe without taking into consideration the pH balance of the mixture can throw its acidity levels off. Without enough acid, harmful bacteria like botulism can form.
- Find research-based recipes at the National Center for Home Food Preservation and Ball and only use recipes you trust.
3. Set aside plenty of time. Preserving food can actually take longer than you’d expect, especially if you’re preparing large batches of cans. Canning is something of a science, so it’s important all your measurements are exact. Putting a time constraint on yourself just makes it stressful and you may end up rushing the process, which could lead to careless mistakes. Instead, give yourself lots of time to enjoy the fun of it!
4. Make sure to leave enough headspace. Headspace is the empty space at the top of the jar that allows you to get a good seal. If you overfill your jar, the food can expand and bubble out, interfering with your seal. Follow these measurements as a general rule of thumb for the empty space above the highest point of the food to be preserved, or follow your recipe instructions for headspace.
- Jellies, jams, soft spreads, fruit juice: ¼ inch (½ centimeters)
- Fruits, tomatoes, pickles, relishes, chutneys, condiments: ½ inch (1 cm)
- Low-acidity foods: 1 to 1 ¼ inches (2 to 3 centimeters)
5. Remove all the bubbles before canning. Stick a chopstick or narrow spatula down the sides of your jar to release any bubbles that may be trapped in your mixture. These bubbles may account for a false-fill, thereby increasing the amount of headspace in your jar, which isn’t good either.
6. Use a funnel to fill your jars easily and keep the jar rims clean, which is very important for ensuring a proper seal.
7. Screw the lids on “fingertip tight” — just until you feel resistance. You don’t want to screw them as tight as you can, because even after releasing the bubbles, there’s inevitably going to be some air trapped in the mixture, so if they’re screwed too tightly, the excess oxygen will have no way to escape before they’ve been sealed and the jars could buckle. Making sure to screw the rims “fingertip tight” will avoid these problems.
8. Don’t reuse lids. You can actually remove the rims after processing your jars because a good can should have such a tight seal on the lid that the rims are no longer needed. You can then reuse the rims. However, don’t try to reuse the lids because they have a seal around them that needs to be brand new every time you make a new batch of cans. If they’re pre-used lids, the seal may fail and your food will spoil. You can buy lids individually, so just play it safe and buy a new pack whenever you can.
9. Adjust for altitude. Just like in baking, the altitude of your kitchen can affect your processing time. Most recipes suggest processing time at sea level, so make sure to increase for higher altitude according to this chart.
10. Check the seals. After you’ve processed your jars either in a water bath or by pressure canning, set them aside for at least 12 hours, then do a press check. Press down on the center of each lid to make sure it’s sealed well. They shouldn’t give to the pressure of your finger, but if one of the lids does, refrigerate and make sure to use it soon.
Remember that practice makes perfect! Canning is an art form, so don’t expect to be a pro at it automatically! It takes time to learn what works for you and to get used to a new process.
Have fun canning this season! Check out our last blog post on fall produce or have fun with the Ball interactive Canning Map for recipes using produce that’s in season right now!

